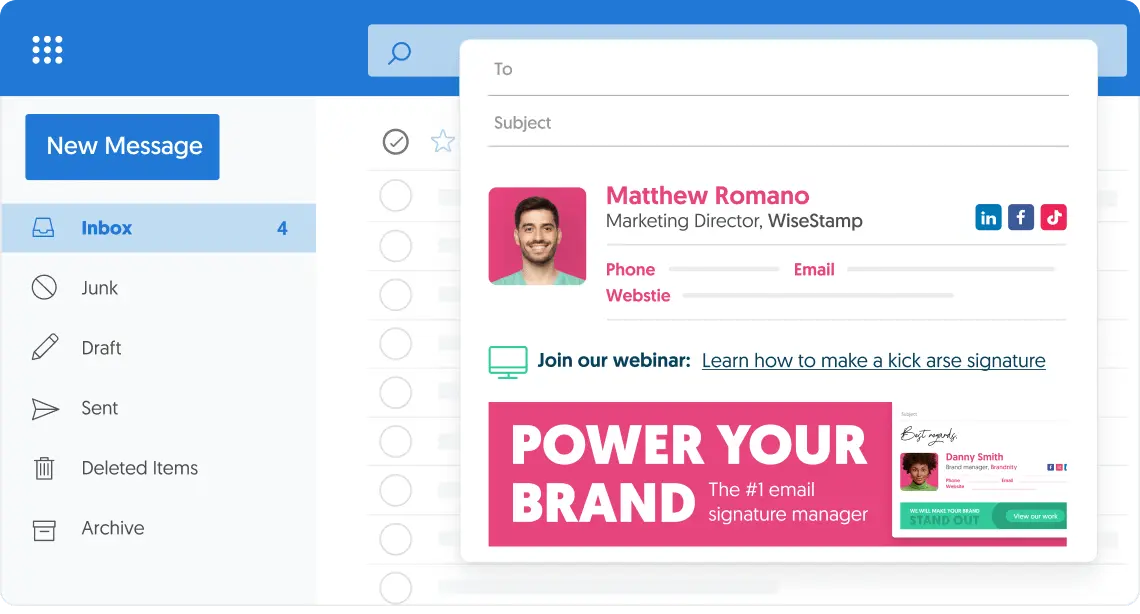
Create and manage the email signature you need
With WiseStamp it’s easy to unify your brand and turn your emails into a powerful marketing tool.
Get the most out of your emails with a professionally designed custom email signature.

Trusted by more than 15K enterprises worldwide

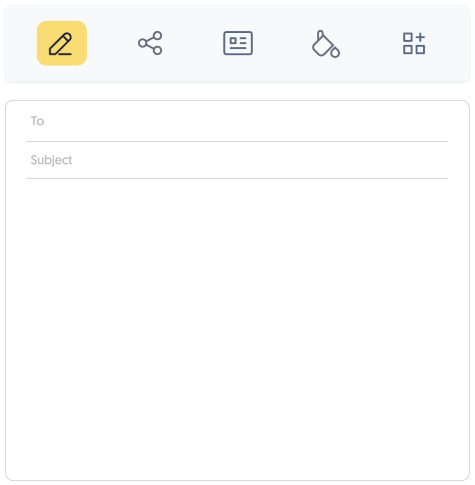
Easy to Design, Easy to Implement &Easier to Manage
Control your signature design
Choose the right layout, font, colors, image-shapes and more with our easy-to-use email signature designer
Add features for every need
Support your business goals by adding rich features like a button, banner, video, disclaimer, scheduler and more
1-click setup
WiseStamp auto installs your signature in Gmail, Outlook, and others using advanced technology
Email signature management
Take control over your organization email signatures, and unify your brand with a global company design

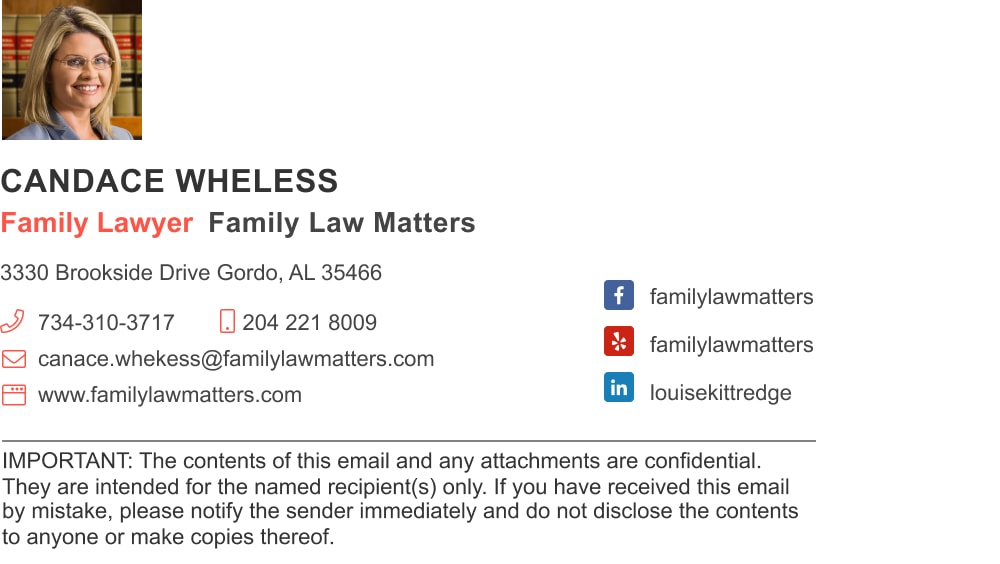
Beautiful signature templates for every need
Browse hundreds of designed templates to start with, fit for every profession and industry


A well-made signature improves
your email marketing performance
+32%
More email replies
A professional email signature creates trust and personalization and attracts more replies
+15%
Increase in Leads
Active linking email signatures to professional website increases visitors and visit duration
+22%
More clicks
Email signature links increase traffic to website and social networks
+10%
Increased social reach
Social networks icons included in email signatures raise engagement and followership
Read what our customers have to say
WiseStamp assists more than 15K companies worldwide unifying their email signatures and turning them into a powerful marketing channel. With such good customer feedback, it’s no surprise WiseStamp is the #1 email signature solution.


Corcoran agents’ using WiseStamp to unify their brand across the thousands of emails that they are sending every day.


With WiseStamp, Amobee managed to launch brand-building marketing campaigns, and successfully track their results.


Slantis is using WiseStamp to present itself in a more neat and tidy way in front of its worldwide suppliers.
Start creating your email signature now
With WiseStamp, generating a professional email signature is as simple as a single click,
regardless of the number of employees or the email platform used.
Create a unified company-wide email signature for as many employees as you need in around 10 minutes.
- Central signature management control
- Keep consistency across your entire company emails.
- One-time, simple integration
- Beautifully designed signatures in 1 click
- Design multiple signature templates
- Promote and deliver your brand & message
- Fully Secure – no 3rd parties