How to Add Multiple Signatures in Gmail
Learn how to create and add multiple email signatures in Gmail. Set up multiple signatures using our Gmail signature generator.

How do I add multiple signatures in Gmail?
- Open Gmail and log in as you normally would.
- On the top right of your screen, click on the “Settings” icon
 .
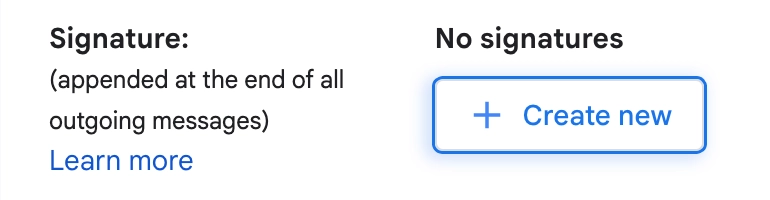
. - In the “Signature” section of “Settings” > click on the “Create New” button > add as many supplementary signatures as you need.
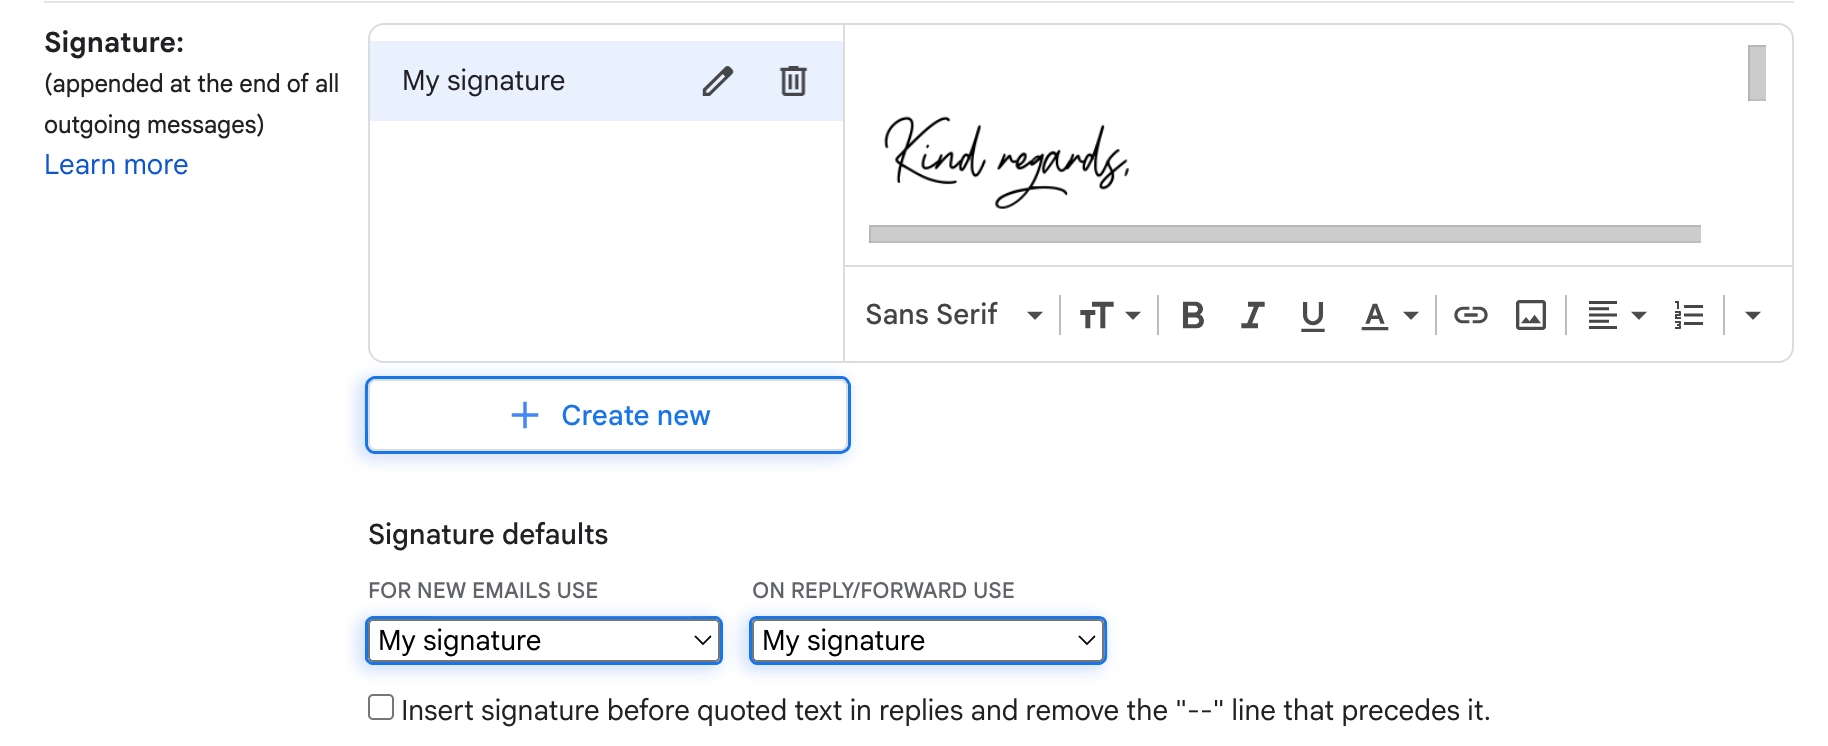
Create multiple email signature for your Gmail
- You can then choose which to make the default signature that will automatically appear when writing if you are replying to emails.
- Be sure to save your changes by clicking the Gmail settings button at the bottom of the screen.
- If you want to, then change to a non-default signature when writing an email, click on the pen icon in the message box toolbar> and select the specific signature you would like to correspond to that email from the list.

Professional Gmail signature example | Made with WiseStamp
Explore more Gmail signature guides
How to create multiple signatures in Gmail the easy way
- Use WiseStamp to create your Gmail signatures (add as many as you like by clicking the plus (+) button
- Open the editor menu
 in the top-right corner of the screen> And select Signature settings
- Assign a signature to a Gmail account > And click the black arrow at the top-right corner
- Click the blue Update signature button at the bottom right corner, and you’re ready to go
Set up different signatures for different accounts using “Send mail as”
If you also have different email addresses connected to your Gmail account (this is known as the “Send mail as” feature), then you can add a new signature for each specific email address associated with your Gmail account.
To do this, first select which email address you want to customize an email signature for by using the drop-down menu, above the “Signature” text area in settings.
If you cannot see the drop-down menu, try opening the “Account and Import Settings Page”, then double-check that you have the “Send mail as” section set up with all of your different email addresses.
Adding an image to each signature
- If you want to add an image, you can do it directly through the “Signature” text area by copying and pasting a new image or inserting it as a URL.
- Repeat this for each email address you have associated with this Gmail account, and then press “Save”.