How to Add a Beautiful Gmail Mobile Signature
Learn how to easily add a Gmail mobile signature on Android or iPhone, which looks professional and makes you stand out

Short answer
How do I add a Gmail mobile signature?
- Open the Gmail app on your mobile device.
- Click on the three horizontal lines in the top-left corner to open the menu.
- Scroll down and click on “Settings.”
- Select the account you want to create a signature for.
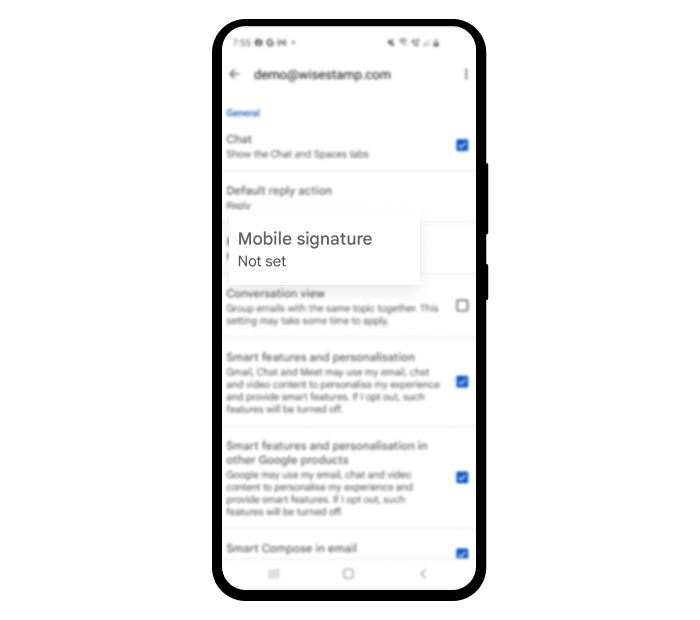
- Scroll down to “Mobile Signature” and click on it.
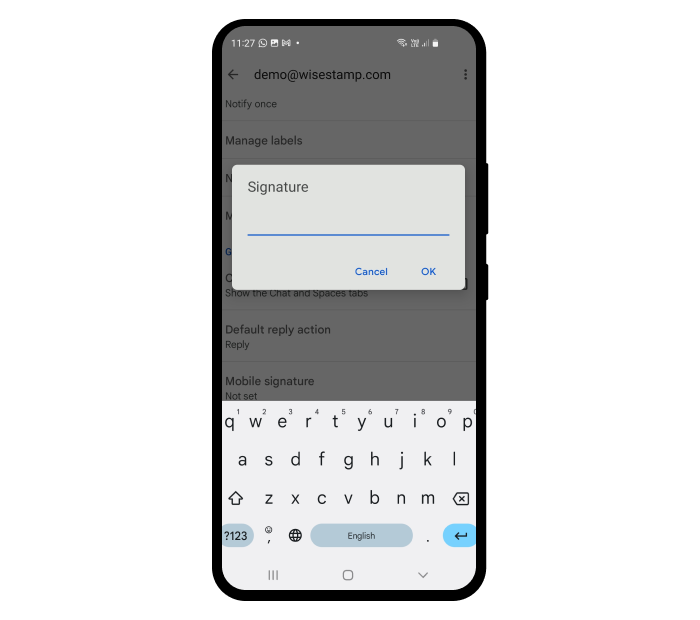
- In the box that opens, type your signature.
- Click “OK” or “Done” to save it.
See detailed guide
How to set Gmail mobile signature on Android?
The process of setting up your mobile signature for Android or iOS is pretty similar. Before we dive into the steps to create your signature on Android, make sure you’ve installed the Gmail app on your phone. Once you have that, we are good to go!
Let’s take a look at how to add a Gmail signature on Android:
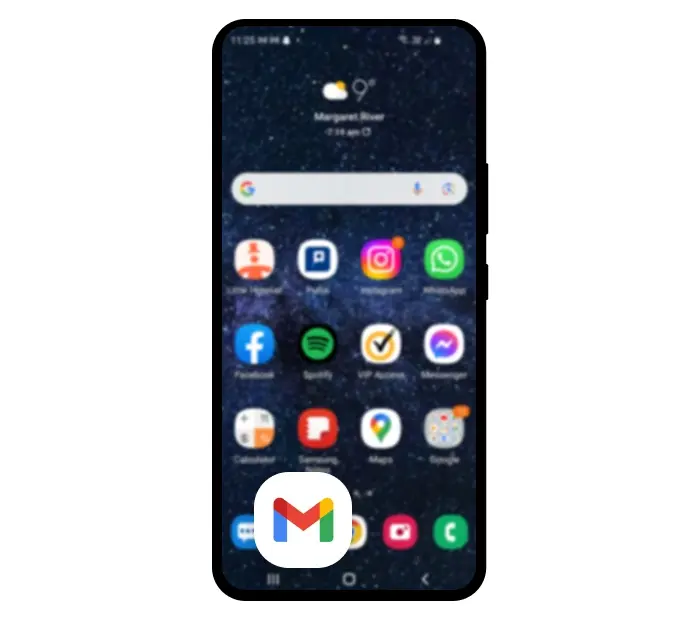
Open the Gmail app on your mobile device.
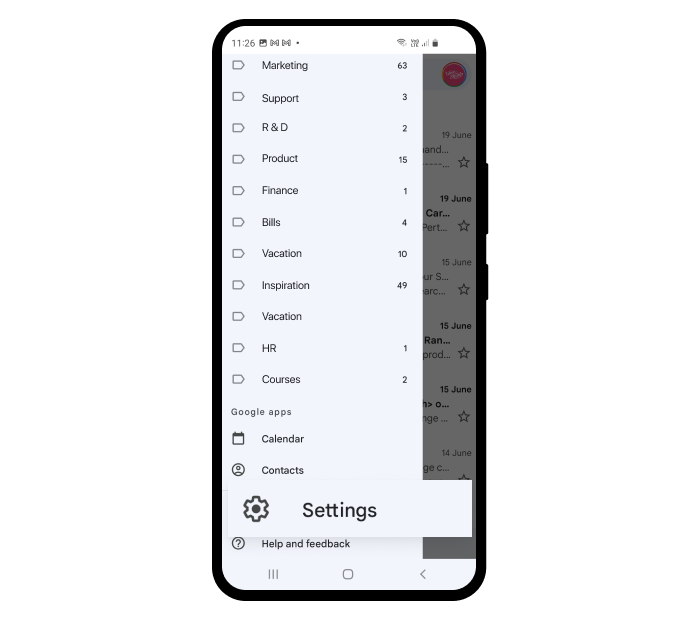
Click on the 3 horizontal lines in the top-left corner to open the menu

Scroll down and click on "Settings"
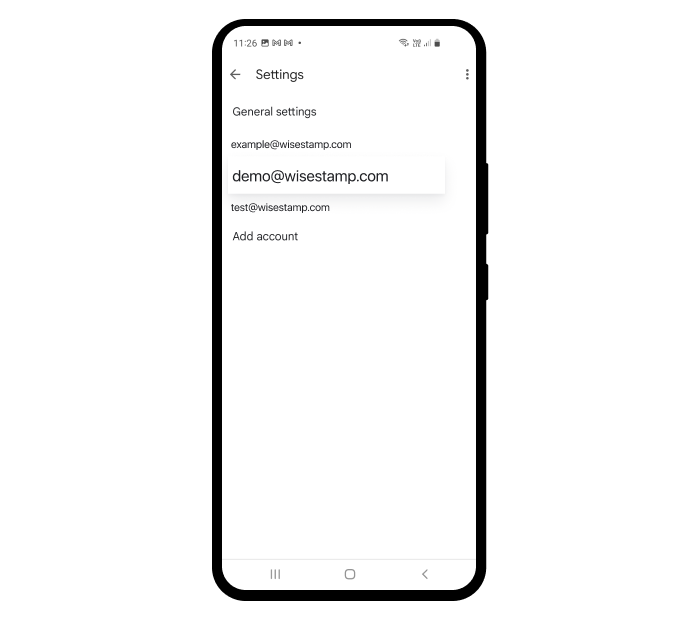
Select the account you want to create a signature for
Scroll down to "Mobile Signature" and click on it
In the box that opens, type your signature
Name your new Gmail signature for android and click "OK" to save it. Then send an email to yourself and copy paste or design your new signature at the body of the email.
Congratulations! You’ve successfully created a professional-looking Gmail signature for your Android device. Now, let’s explore the process of adding a Gmail signature on your iOS device:
How to add a mobile Gmail signature on iPhone or iPad?
(Short guide)
Although the process of creating a Gmail mobile signature is largely similar across all devices, here’s a specific guide for iOS users:
- Launch the Gmail app on your iPhone or iPad.
- Tap on the three horizontal lines at the top left corner to open the navigation menu.
- Scroll down and select “Settings.”
- Choose the email account you want to add a signature to.
- Under the “General” section, tap on “Signature settings.”
- Ensure the toggle for “Mobile Signature” is switched on.
- In the text field that appears, craft your signature and tap “Back” to save it.
Gmail mobile signature best practices
A professional mobile signature goes beyond your name and job title. Here are some tips to help you create a compelling signature:
- Keep It Short and Sweet: Ideally, your email signature should be no more than 3-4 lines. Anything more might appear cluttered on small mobile screens.
- Include Essential Contact Information: This might include your phone number, company website, or social media handles.
- Add a Touch of Personalization: This could be a personal motto, a favorite quote, or a link to your portfolio.
- Keep It Professional: Avoid unnecessary colors, fonts, or images that may detract from the professional appearance of your emails.
Troubleshooting common issues
While setting up your Gmail mobile signature should be a straightforward process, you might encounter some issues. Here are a few common problems and their solutions:
- Signature not displaying on sent emails: Make sure you’ve saved the changes to your signature. If the issue persists, try logging out and back into your account.
- Formatting issues with your signature: Remember, complex formatting might not translate well across different email clients. Keep your signature simple to avoid these issues.
See the complete guide for Troubleshooting Gmail signature issues
Desktop VS Mobile Gmail signature
In the conventional desktop version of Gmail, your signature is visible each time you draft an email, allowing you the flexibility to modify it as needed or even eliminate it entirely for certain messages.
Unfortunately, this level of adaptability isn’t available when you’re sending emails via the mobile application or the mobile website.
If you are looking to create a truly professional Gmail signature, and especially if we’re talking Company-wide email signatures, it is basically a must to use more elaborate tools like WiseStamp’s signature generator.
Create a professional Gmail mobile signature with WiseStamp
Elevate your email communications by creating an impressive HTML Gmail mobile signature with our Gmail Signature Generator.
Far superior to basic text signatures, a rich HTML signature lets you incorporate dynamic features, captivating designs, and diverse layouts.
Start enhancing your digital interactions by adding a Wisestamp mobile signature today:

Leveraging your Gmail mobile signature
In conclusion, a well-crafted mobile signature can add a professional touch to your emails, help establish your brand, and offer a quick reference to your contact details.
Remember, a powerful email signature can make your professional communication and marketing efforts way more effective.