How to Add a Banner to Outlook Email Signature
Learn how to create & add a banner to your email signature in Outlook desktop & web apps & Outlook365, or use the Wisestamp banner maker.

Truth be told, there is an easier and better way than this guide to get a well-crafted banner email signature. With WiseStamp Email Signature Generator, you can create a sharp, customized email signature and easily add it to your email service in just 5 minutes with no complicated do-it-yourself guides.

Outlook signature with added banner | Made with WiseStamp
How to add a banner to your outlook web 365
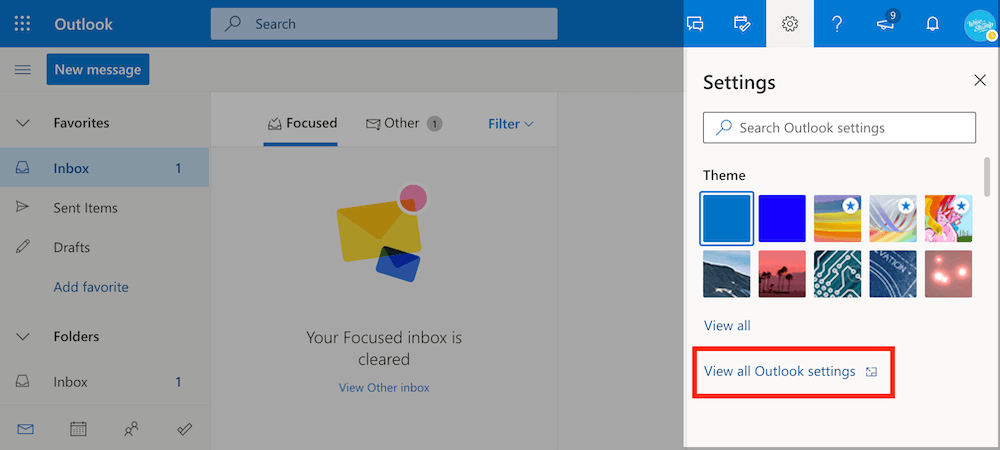
- Click on the gear icon
 to the top-right side of your office 365 window to open the Settings menu
 - Click “View all settings” at the bottom of the Settings menu
- Select the “Compose and reply” tab from the left sidebar
- Click with your cursor on the place where you want to place the banner
- Select the image icon from the toolbar to “Insert picture inline”
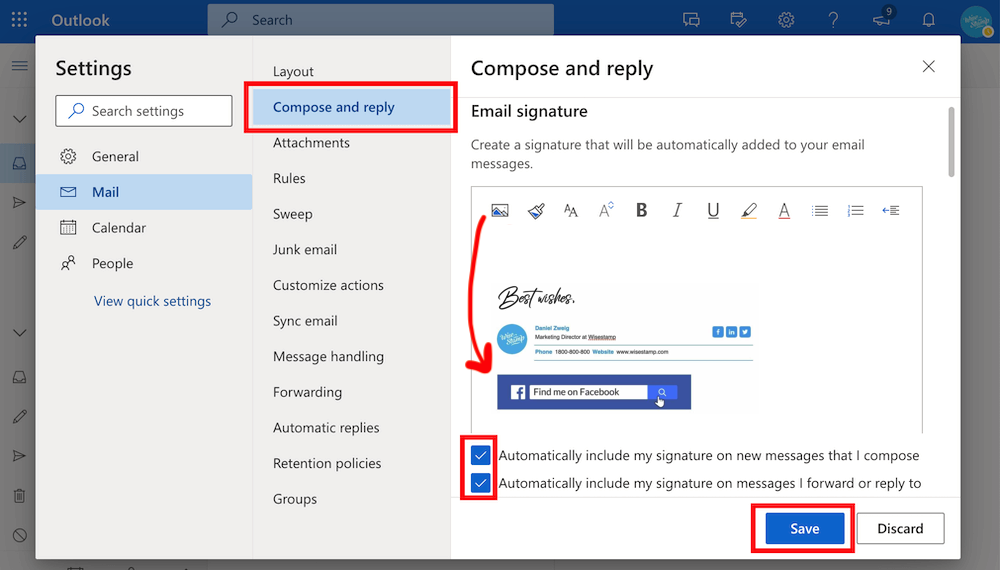
- Hit “Save”, and you’re all set up.

Outlook 365 signature with banner | Made with WiseStamp
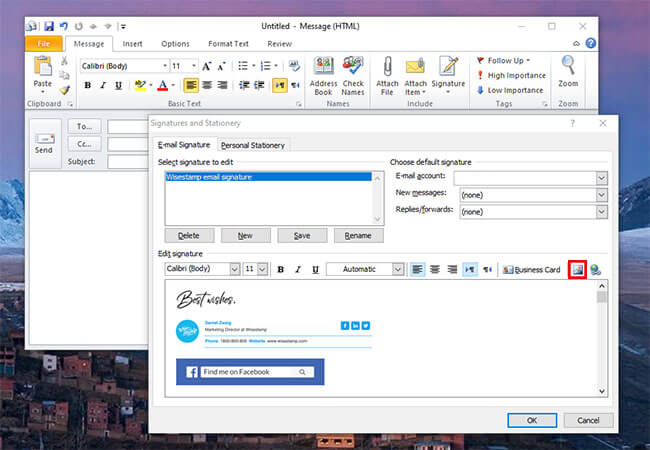
How to add a banner to your outlook 2013 – 2019
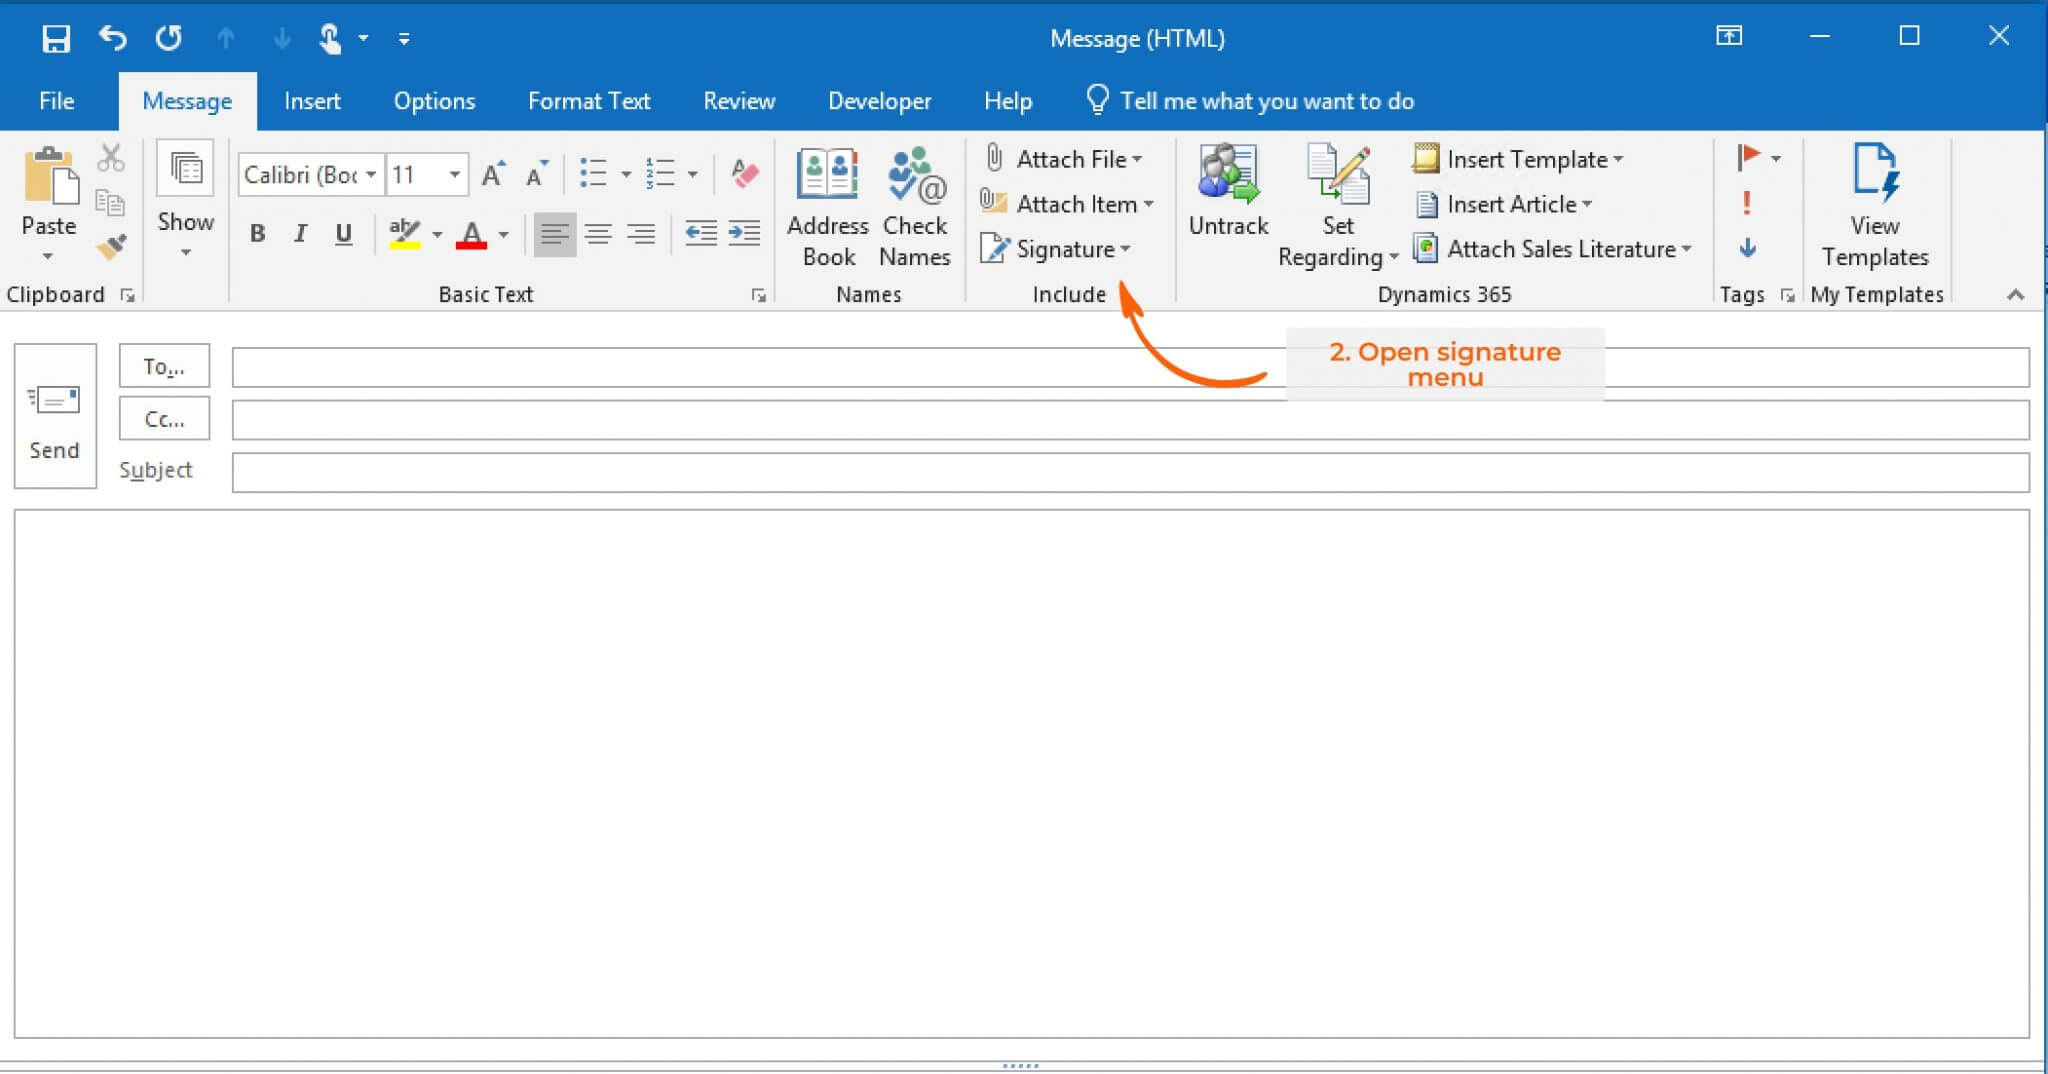
- Open a new email message on your desktop Outlook 2019
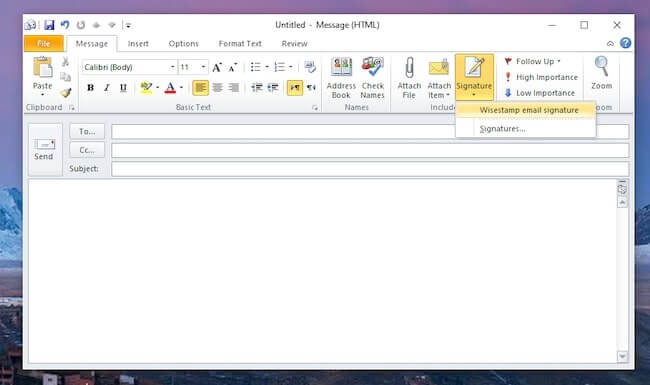
- In the Message menu, select Signature > Signatures
- Under Select signature to edit, choose New and give your signature a name. If you already have a signature. Select the one to which you want to add a banner.
- Go to Edit signature and create or paste in your signature. If you already have one click inline where you want to place your signature banner.
- Select the image icon to the right-hand side of the toolbar and upload the banner from your computer. You can also copy and paste a banner image from your PC or from the web.
- Hit “OK” to save your new banner email signature. You will now find your updated signature in your new message box.

Outlook desktop 2013-2019 signature with banner | Made with WiseStamp
How to add a banner to your outlook 2007 – 2010
In order to add the banner to your Outlook email account, follow the steps below:
- Login into your Outlook account online or open it up on your desktop.
- Create a new email.
- On the “Message Menu”, select the “Signature” button.
- Once you have the accessibility to edit your signature, choose the signature you wish to add the banner to (if you still don’t have a signature select “New” > then select a name for the signature).
- Now go ahead and copy and paste your banner into the box. Be sure to click your cursor in the place you want the banner to go, before you paste it in. Alternatively, you can use the image icon at the right end of the signature editor to add an image from your computer.
- The next step is to designate an email address to go with this particular signature. You can create a variety of signatures to choose from for each email account while completing this step. You are also able to designate one as a default signature.
- Afterward, be sure to designate that you want the signature to default for both “New Messages” as well as “Replies/Forwards” by selecting those from the drop-down menu.
- Finally, press “Okay” at the bottom right of your screen to save your message.

Outlook 2007-2010 signature with banner | Made with WiseStamp